
3D Imaging a Maori Meetinghouse
Beginning in September of 2017, a three-year restoration project intended to restore the Maori meetinghouse Te Hau Ki Turanga to its original glory will take place within the Museum of New Zealand Te Papa. As part of the preparation work that has gone into planning for the restoration of the large 30 foot by 15 foot building, extensive documentation records of the current structure have been produced including measured drawings, condition reports, and 3D imaging.
I was fortunate to lead the 3D imaging part of the documentation through both photogrammetry and laser scanning capture.
What is Photogrammetry and Laser Scanning?
- Photogrammetry: Recent technological advances in digital cameras, computer processors, and computational techniques, such as sub-pixel image matching, make photogrammetry a powerful technique for precise and accurate capturing 3D surface geometry and color information of a surface. The most advanced photogrammetry software uses the Structure from Motion (SfM) method. The SfM approach simultaneously determines how light passes through the camera’s optical system (the camera’s calibration) and the camera’s position and orientation (pose), relative to the imaging subject, for each photo. During processing, each camera’s calibration and pose is made increasingly more precise through an iterative process. This is done by iteratively refining a sparse cloud of points in the virtual scene representing the real-world environment containing the imaging subject. The points in the sparse cloud are created from the matches of similar pixel neighborhoods identified in multiple photos. If matching pixel neighborhoods are found in two, or preferably more, photos, the areas occupied by the pixel neighborhoods in the respective photos are projected into the virtual 3D scene. These projections intersect in the form of a common volume in the 3D scene and are represented as a point in the sparse cloud. The positional uncertainty (precision) of these points is reduced in a process discussed in more detail below. As the precisions of the point positions increase, the precisions of the camera calibration and pose also increase. When the desired camera calibration and pose are at the level of precision acceptable to the user, the SfM process is finished. During the following stage, software using SfM data then builds a dense point cloud, which can be transformed into a highly accurate textured 3D model.
Laser Scanning: For many endangered heritage sites, the first tool required for preservation and restoration is a reliable, accurate site survey. Terrestrial LiDAR (also known as 3D Laser Scanning) technologies provide 3D survey data that is more accurate than information from surveys using traditional techniques. 3D laser scan data can easily be converted to CAD and other imaging programs for conservation, management, and restoration works as well as virtual tourism, education, and information dissemination. Laser scanning technologies are the latest development in survey documentation and recording. They employ laser beams that scan a subject, creating a cloud of accurately measured points in a matter of seconds. This raw set of data, known as a "point cloud," contains millions of measurements, accurate to millimeters or fractions of a millimeter, with each point precisely referenced with x,y,z coordinates relative to all other point locations. By mapping the points, an accurate 3D model can be created.
How to Prep for 3D capture of a Large Object in a Museum

- Prep:
- for this large project began back in California at the Cultural Heritage Imaging offices in San Francisco. Working with Carla Schroer, Mark Mudge, and Marlin Lum, we optimized for the most accurate as well as most portable strategy for capturing the intricate and deep carvings in the meetinghouse.
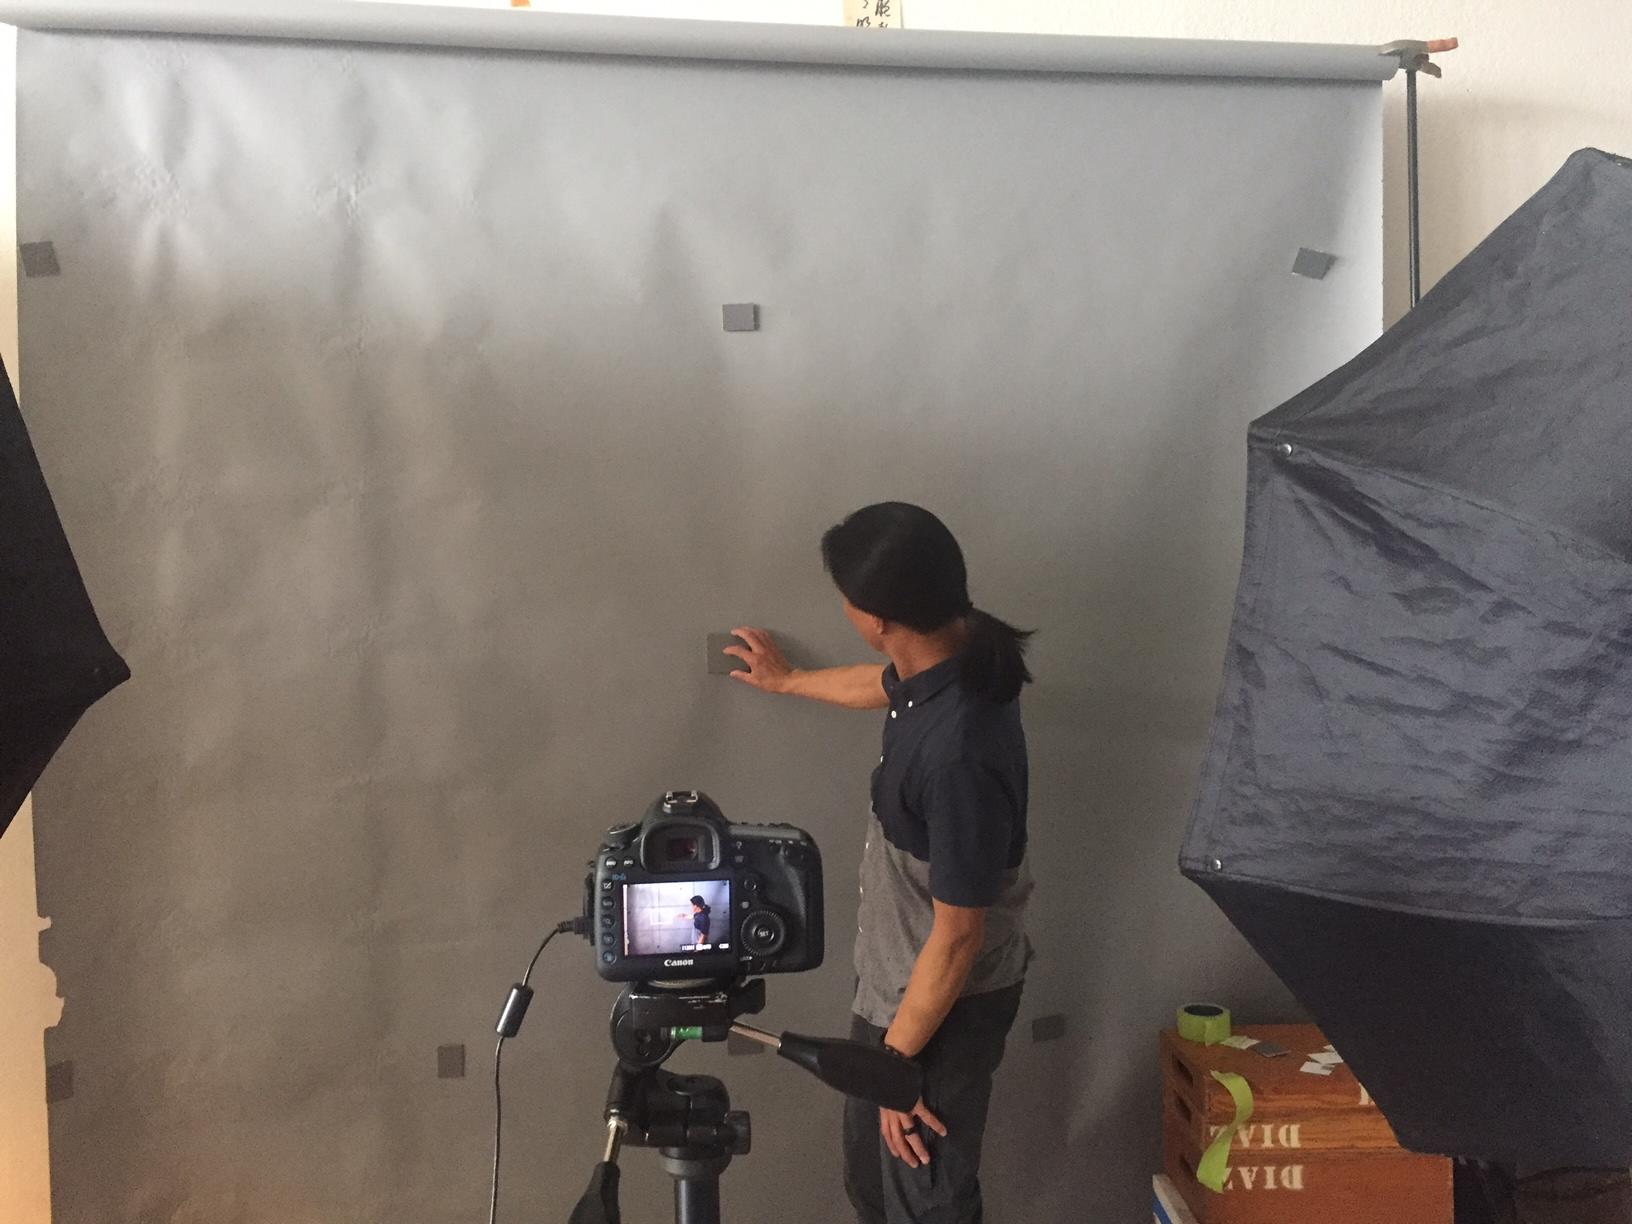
In the picture above Marlin and I set up a backdrop with several grey cards to measure the light temperature of several types of lights in different positions. We found the best solution was to position 2, 1600 wat Aileen Bee lights on either side of the camera 12inches away from the camera sensor. This ensured approximately even temperature from the top and bottom corners of the camera’s field of view to the center.
Gear:
Packing gear for one person to take on the long haul from San Francisco to Wellington also took some time and prep work. The two most important pieces of equipment was my camera, a Canon Mark III with 24 and 50mm lenses and the FaroX300 Laser Scanner. Both these I took in my carry on backpack (I did get stopped by NZ airport security and had to reassure them that the laser scanner was harmless). For the checked luggage we decided to go with collapsible soft boxes to fit around the Aileen Bee lights with a trigger flash system. I negotiated several tradeoffs such as packing several smaller sets of the scale bars, but decided not to pack a smaller lightweight tripod and use my trusty and more robust tripod for the project. Below is a picture of my gear bags. Safe to say that me and my gear made it there and back without any issues. :)
Photogrammetry test at the Berkeley Museum:
Director Benjamin Porter was an incredible help and allowed me to test the equipment and capture on 2 carved Maori panels within the museum’s collection. A big concern with the lighting equipment was not only getting even coverage within the dark interior of the meetinghouse but also ensuring that there would be a minimal amount of data loss in the deep undercuts of the carvings. The capture process began with precise 1/3 overlap both on the X and Y axis of the carvings in landscape mode. I then turned the camera 90 degrees with an upward 15-degree tilt to capture the bottom carving work and then switched to 270 degrees with a downward 15-degree tile to capture the top carving work. This resulted is full capture of the 2 carvings (image of the dense XYZ point cloud below).
Laser scan/photogrammetry plan:
The final step of the prep work was to map the building inside and out for accurate geometric capture. A rule of thumb for good geometry no matter what type of object is to 1. Have a good geometry base (distance between camera sensor/laser scanner to distance/height ratio, 2. Good overlap of data at 66%, and 3. (Only for photogrammetry) nine “look angles” at every XYZ point in your dense point cloud. Below are several images of the laser scan/photogrammetry plan for good data capture of the entire interior, exterior, and porch of Te Hau Ki Turanga.
The Capture and Results
I am happy to report that the data came out great! Not only did it produce highly accurate XYZ measurements for retroactive measurements of the structure. This is useful for both museum staff and Maori carvers and scholars interested in calculating the macro (roof lines, etc) and micro (chisel marks, diameter of shell placements, etc) scale of the building. In addition, because of the color and texture information gathered from the photogrammetry datasets, it also created beautiful 3D models of the structure for educational and interpretative projects.